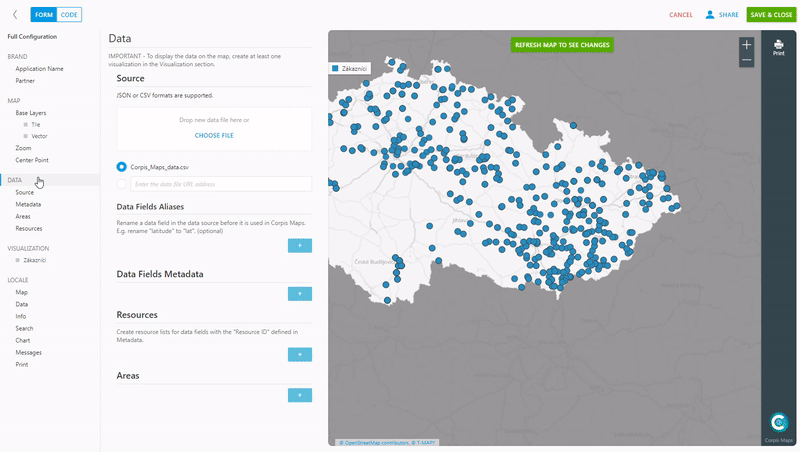
An important part of creating a map is adding new metadata. Everything you want to display on the map, whether it’s customer information, filters, certain types of visualizations, etc., you need to add to the metadata.
In the “Data – metadata” section, add a new item by clicking on the blue plus button. Fill in “Label” (metadata name), “Field ID” (exact field name from source data) and field format. The format of the field determines how the information should be displayed on the map. If it is a text field, you can leave the format blank, if it is a number, select the format “Number”, etc. Another option is to attach the created code list to the metadata. Enter the name of the created code list in the “Resource ID” field. You can read how to create and what a code list is used for in the article “Code lists (Resources)”. Using “Search” and “Filter”, you can search or filter on the map according to this field (by checking the checkbox). Last but not least, it is possible to specify whether metadata should be displayed in the map information panel, in selected visualizations and aggregations.
Are you interested in management maps Corpis Maps?
Contact us and try Corpis Maps for 1 month for free. During the trial period, we will create your first map for free.